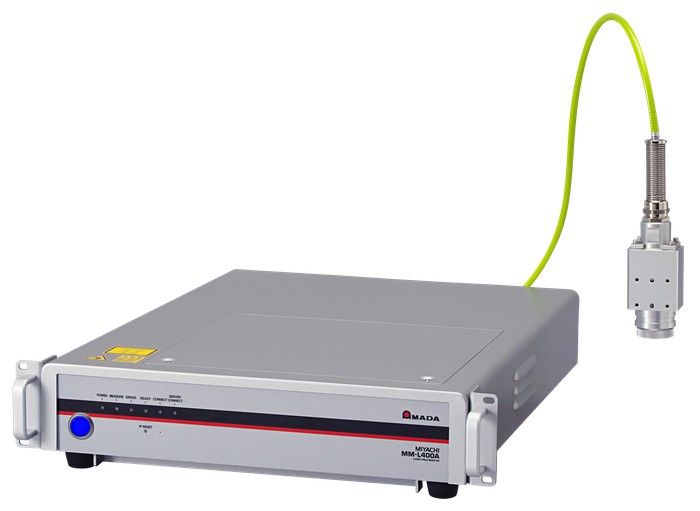
【NEW】MM-L400A Laser weld monitor
- Home
- Products
- Laser Welders
- Laser Weld Monitor
- MM-L400A
MM-L400A is the weld monitoring equipment that judges all welding point in-process.
Good or bad judgment
.Workpiece gap
.Surface condition
.Focus
.Penetration
▶ Features
- ◆ Comparison judgement
Available for comparing good-data with bad-data. It's effective-use to judge in processing line. *Verifying in advance is needed.
Varification
We layered copper plates with a thickness of 1.0mm and welded them,and comppared the envelope function between a good product(no gap)
and a defective product(with a gap).
Result
MM-L400A detects bad welding in reflected light and visible light.
- ◆ Enable to detect Reflected light and Visible light(Plasma)
Instead of the conventional model(MM-L300A) was enable to detect only Infrared radiation (Synchrotron Radiation),
MM-L400A is enable to detect three lights of IR,Reflected and Visible(Plasma) light. Also enable to comparison test based on the preset standard waveform.
- ◆ User friendly operating software for easy measurement
The included MS-Viewer dedicated software enables various settings and measurements in a more intuitive manner.
.Adjust the measurement start trigger ・Sensor sensitivity (gain)
.Envelope setting (threshold) ・Comparison of measurement waveforms
.I/O usage
MS-Viewer is friendly operating software for those not accustomed to using monitoring equipment.
◆ On axis and outside attachmentThe light receiving unit can be equipped our focusing unit with CCD on axis and also can be set outside.
And also, the unit can be equipped our scanner head on axis and can be set outside.

- ◆ Supports a Scanner head
Add an option that can be attached to our scanner head to enable monitoring on an area rather than a point.
Easier detection of penetration during scanner welding.Please do not hesitate to contact us if you are planning to adopt MM-L400A to the third-party scanner head.
Focusing unit Scanner head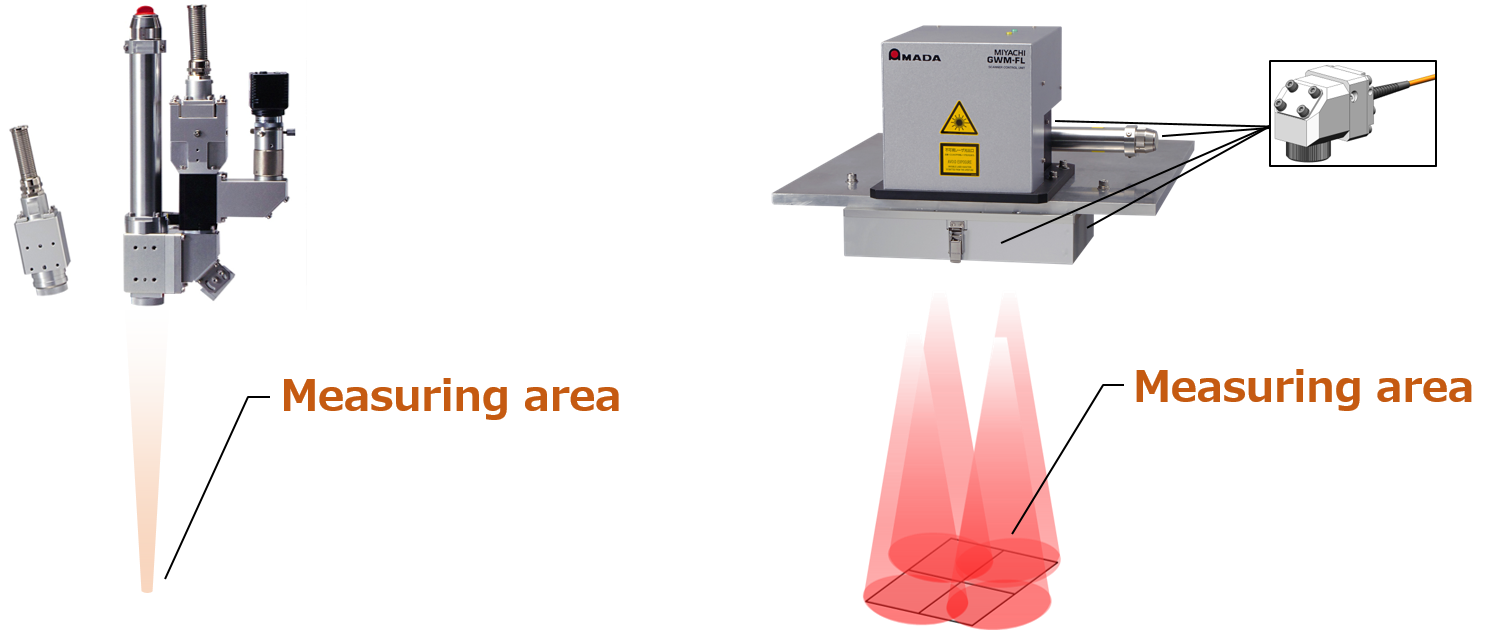
Usage example (reference data)
The following is data verified for perforation detection during lap seam welding of AL materials.
Unlike the standard type (attached to the output unit), it takes a long time for the scattered metal to jump out of the measurement optical path,
making it easy to detect as a waveform anomaly.
Varification
materials: AL thickness: 1.0mm laser power: 800W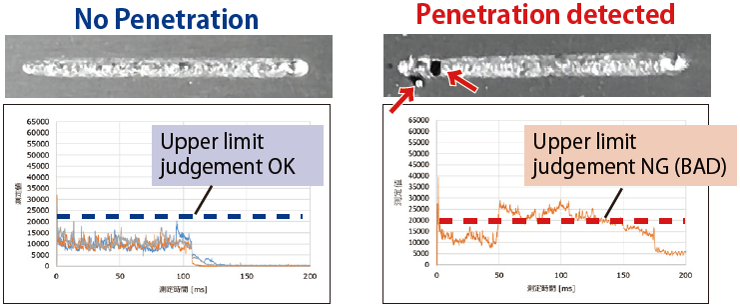
◆ Light weight and Compact designLight weight and compact in this market. Reducing set-up space when you construct processing lines.
◆ High speed resolutionEnable for high speed resolution with dedicated sensor. Monitoring not only CW laser but also pulsede laer.
-
◆ Available for Ethernet
It enables to monitor remotely or to manage all of data coming from each procution lines.
◆ Compliance with CE marking
*some option are not available.please ask us the details.
▶ Systemup Examples
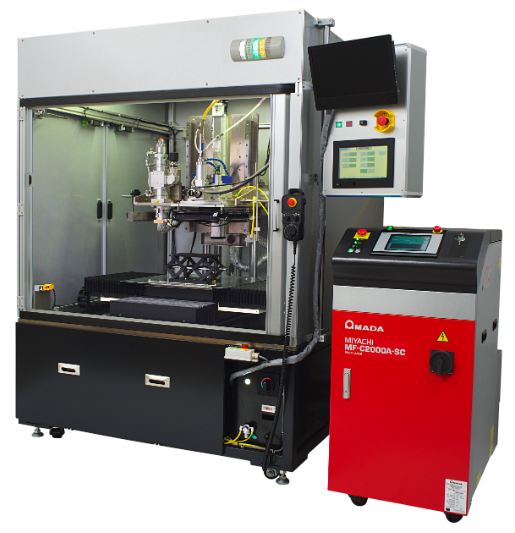
Traceability is achieved by reading the lot number,ect.,and linking the date of manufacture, processing conditions, judgment results,ect.obtained with the MM-L400A. By introducing it as a system solution,you can achieve both high productivity through automation and reliable quality control with the MM-L400A.
| Model | MM-L400A | |||
| Main body | Dimensions | 486(W)×597(D)×107(H) mm | ||
| Maximum weight | Approx. 22kg | |||
| Input supply voltage | Single phase AC100~240V 50/60Hz | |||
| Power consumption | Less than 110W | |||
| Interface | 50pin 1.27mm pitch 50pin Female | |||
| Inpur channel | Max. 6 channels + 2 channels from external analog input | |||
| Minimum / Maximum measuring time (resolution) | 1000μs-4ms(1μs)/1000μs‐400s(1ms) | |||
| Juddgint function | Envelope (upper/lower limit judgment), integral judgment | |||
| Ambient operating temperature | 5 to 40 ºC (without condensation) 85% RH or less (without condensation) |
|||
|
Coaxial light receiving unit |
Models | CCD output unit made by our company, GWM-STD、GWM-STD2、GWM-K series、CL-H series |
||
| Guide light wavelength | 645~660nm(Not measurable when the guide light is turned on) | |||
| Detection wavelength | Near-infrared light(1300~1700nm), Reflective light(1060~1080nm), Visible light(400~800nm) | |||
| Cooling method | Natural air-cooled ※3 | |||
| Ambient operating temperature | 5 to 40 ºC (without condensation) 85% RH or less (without condensation) |
|||
| External light receiving unit | Models | CCD output unit made by our company ※2 | ||
| Guide light wavelength | 645~660nm(Not measurable when the guide light is turned on) | |||
| Detection wavelength | Near-infrared light(1300~1700nm), Reflective light(1060~1080nm), Visible light(400~800nm) | |||
| Cooling method | Natural air-cooled ※3 | |||
| Ambient operating temperature | 5 to 40 ºC (without condensation) 85% RH or less (without condensation) |
|||
|
External light receiving unit |
Models | GWM-STD、GWM-STD2、GWM-K series、CL-H series ※2、※4 | ||
| Guide light wavelength | Not available | |||
| Detection wavelength | Near-infrared light(1300~1700nm), Reflective light(1060~1080nm), Visible light(400~800nm) | |||
| Cooling method | Natural air-cooled ※3 | |||
| Ambient operating temperature | 5 to 40 ºC (without condensation) 85% RH or less (without condensation) |
|||
*Specifications subject to change without notice.
※1:It's common specification for output unit and scanner head.
※2:Please contact us if you want to use it with output unit from other companies.
※3:When the external light-receiving unit accumulates heat due to the diffuse reflection light from workpieces,
a cooling measure or a measure against reflective light is required at the customer side.
※4:A bracket is required to fix the four light receiving units.


